This brief guide will help you learn more about our new, mobile-friendly registration system and course schedule options.
All online registration activity will take place in SUNY Cortland's web portal, myRedDragon. Navigate to the portal, select the Student tab, and follow the steps below for each registration function.
Current SUNY Cortland degree-seeking (matriculated) students may use the Schedule Builder method or they can choose to use direct registration. Visiting students may use direct registration only.
Prepare for Registration
- While viewing the "Student" tab, access the Registrar's Office/ Registrar Channel (on the left side of the screen).
- Click the "Prepare for Registration" link.
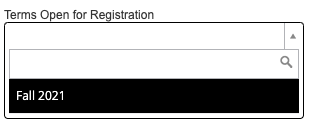
- Choose the desired registration term and click the [Continue] button.
- On the resulting page, you will be presented with a screen that provides information about your students status, hold status (only if a hold exists), your time ticket and your class or level for registration purposes.
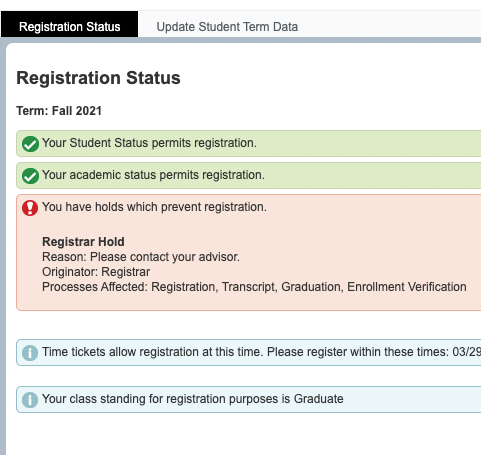
If your student or academic status does not permit you to register, please contact your academic advisor or the associate dean for your school.
Holds: If a hold notice is present and you are unable to register, you must clear the hold before you can register. Please look at the hold type and/or the originator listed to determine who to contact.
Time Tickets: The dates and times listed represent your "time ticket." You will not be able to register before the day and time indicated.
Class Standing for Registration Purposes: This represents the current class. This may not match your current class.
Direct (Web) Registration
In addition to the step-by-step instructions below, you may view the screen layout page, which will orient you to the different panes and areas on the registration page.
- While viewing the "Student" tab, access the Registrar channel (on the left side of the screen).
- Click the "Add/ Drop Classes" link.
- On the resulting page, select the appropriate term.
- One the next page, you can search for classes or directly enter a CRN (course reference number). You are able to switch between searching and direct CRN entry as you need while you build your schedule.
Search: To search, enter the course elements, and click the search button. You can use the Advanced Search to search by other course elements.
On the search results page, you are able to register by clicking the [Add] button in the last column of the course row.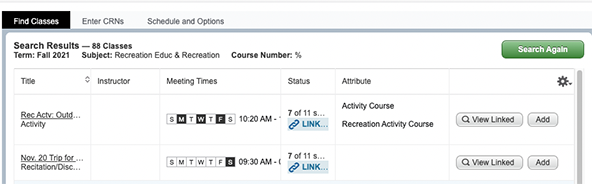
Add by CRN: To add courses by entering the CRN, click the [Enter CRNs] tab button. Enter the CRN in CRN field and select [Add to Summary] to add it to your schedule plan. To add multiple CRNs, click the "Add Another CRN" link to display additional fields.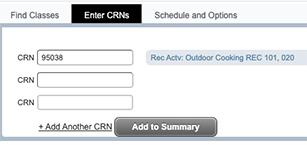
Errors: When adding a course using any method, errors will be displayed in the notification toolbar area if they occur.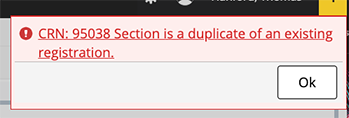
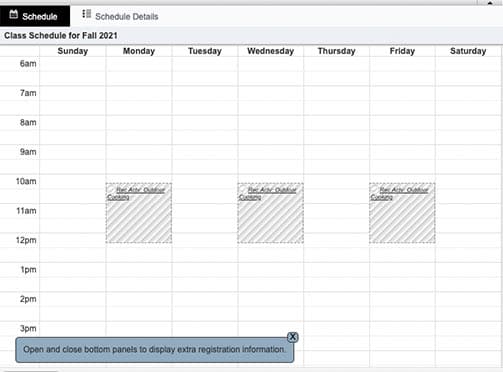
- When adding courses, they will be displayed in your schedule grid on the registration page. You can close the bottom pane to make additional room for searching, if desired.
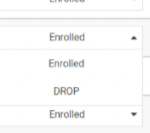
- Courses are also displayed in the summary pane on the bottom right. You will use the drop down menus in this pane to make changes, or to drop a section.
IMPORTANT: You must click the [Submit] button to add your courses and register. If you fail to submit your selections, you will not be registered. If the course indicates "Pending", you are not registered.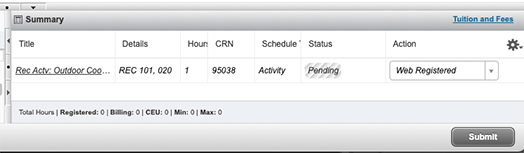
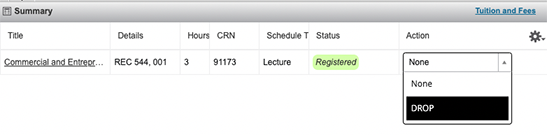
- After you submit, your summary pane will show courses with a new "Registered" status. If there are errors, an error notice will be shown. To remove a class you have registered for, you are able to select DROP from the menu.
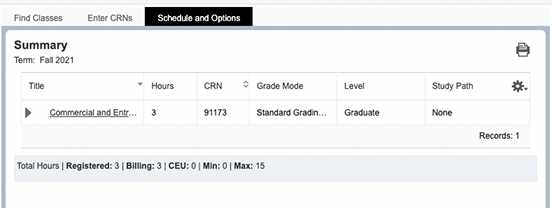
- View and print your finalized schedule by clicking the [Schedule and Options] tab button. You are able to see a summary of your schedule, and print your schedule from this view.
- If you wish to adjust your schedule in the future, you may click the "Add/Drop Classes" link to return to this page and make adjustments.
Registration History and Schedule
- While viewing the "Student" tab, access the Registrar’s Office / Registrar Channel (on the left side of the screen).
- Click the "View My Registration" link.
- On the resulting page, select the desired term on the "Look Up a Schedule" pane. You can select the current term, or past terms you registered for.
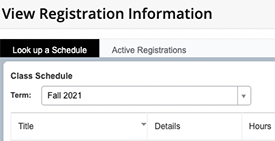
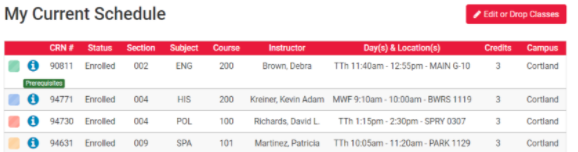
- The schedule for the term will be displayed on the schedule grid at the bottom of the screen. To see the advanced course information, including room locations, meeting patterns and instructors, select "schedule details".
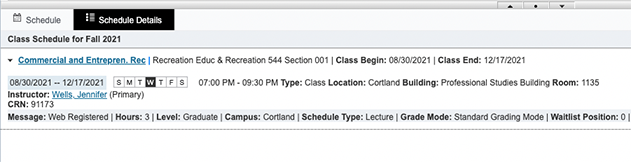
- You also may click the printer icon in the top right of the page to print your schedule.
Schedule Builder
This function is available to degree-seeking (matriculated) SUNY Cortland students. Visiting Students should use direct registration.
- While viewing the "Student" tab, access the Registrar’s Office / Registrar Channel (on the left side of the screen).
- Click the "Schedule Builder" link.
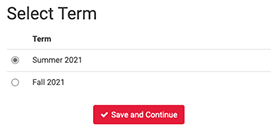
- On the resulting page, select the appropriate term.
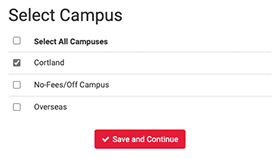
- Select the appropriate campus. (This will be "Cortland" for the majority of students.)
- Add your desired courses and any breaks (e.g. lunch, practice) that need to be part of your schedule by clicking the [Add Courses] and the [Add Break] buttons.
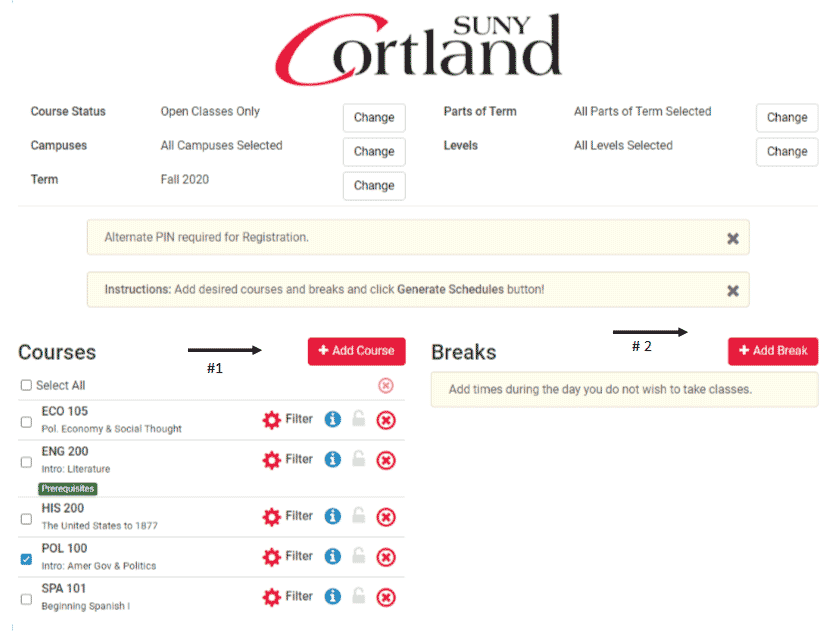
- After you have entered your desired courses, generate your possible schedules by clicking the [Generate Schedules] button.

To view a schedule, click the "View" link. It will show you an individual schedule with complete details.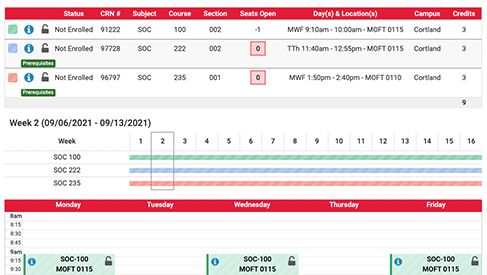
Click the magnifying glass to see a quick grid view.
You are also able to compare schedules side-by-side, by selecting at least two schedule options using the provided checkboxes. Click the [Compare] button that is active when you have selected multiple schedules.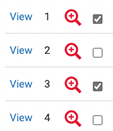
- Select your optimal schedule. On the schedule view, select the [Send to Shopping Cart] button at the top to register. You may also choose to send your schedule to your advisor for discussion or approval by clicking the [Email] button.
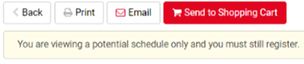
- On the shopping cart page, select the [Register] button to send your courses to the Student Information System.

You will be required to enter your PIN if you are an undergraduate student. You may obtain your PIN from your academic advisor only. A PIN is not required during the drop/add periods at the start of the term.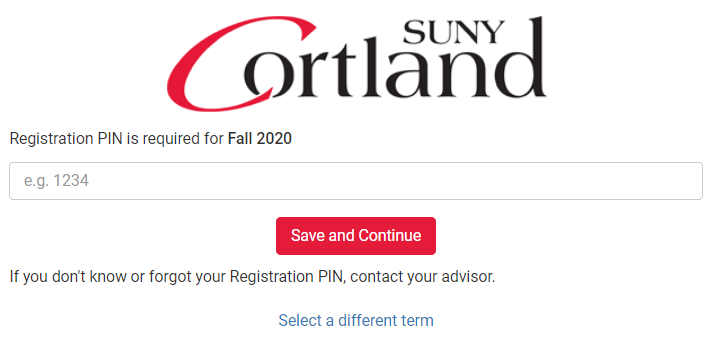
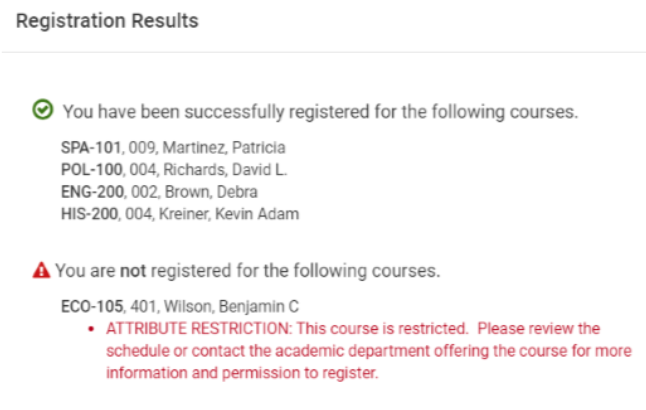
- Review any errors that are returned (if applicable). You will be registered for courses where there is no error or conflict.
- If you make changes or edit your schedule, you should use the [Edit or Drop Classes] button that will be shown on your current schedule in the Course Scheduler.
Edit or drop classes by selecting the appropriate dropdown menu item on the Edit or Drop Classes page.