Access The Housing Portal
All housing processes will take place from The Housing Portal. To access anything housing-related, complete the following steps:
- Log in to your myRedDragon.
- Select the “Student” tab.
- Under Residence Life and Housing select “Housing Process and Information.”
Form Your Roommate Group
For residents looking to participate in the Red Track, you will be required to choose a roommate to select a room with. If you do not know who you would like to live with, you will have an option to search for others (using the roommate search system) or you can opt for the White Track.
Please Note: RSP Applications are required to be Approved by Residence Life and Housing in order to form a group. We are working on getting this auto-approved, but, at the moment, we will be approving on weekdays twice daily. Please remember that all members of your group must have completed the RSP Application and be approved in order to form a group.
Access Roommate Options
Log in to your school’s resident portal using the URL provided by your housing department.
Navigate to Applications from the navigation bar.
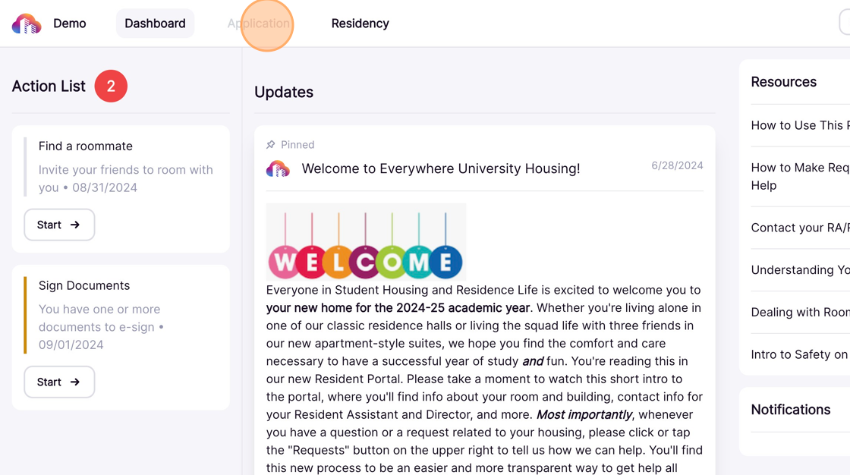
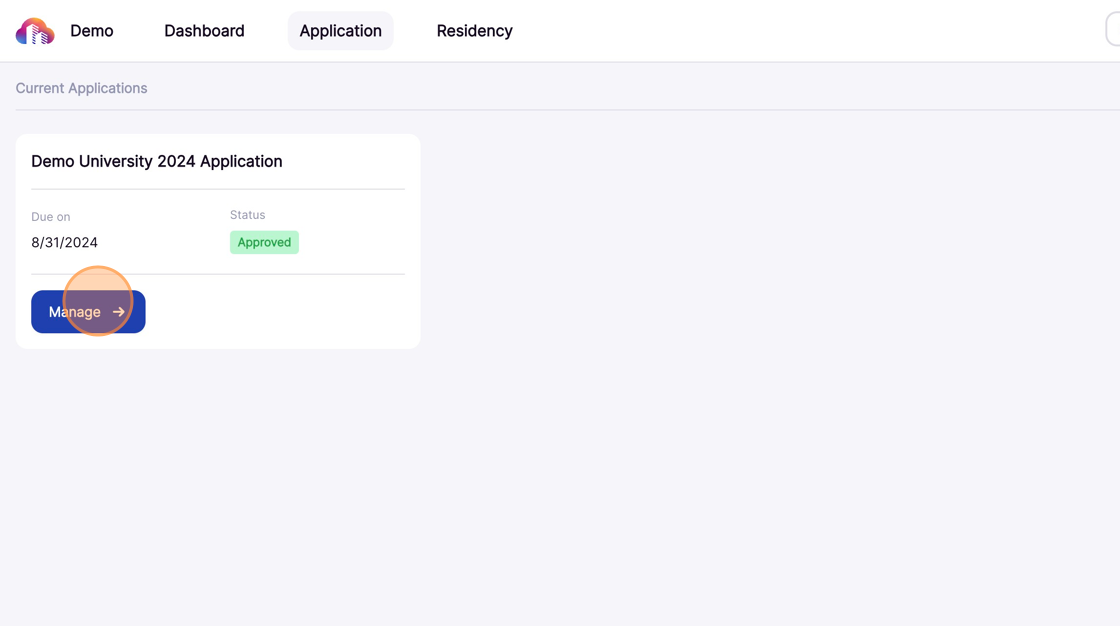
Select the application for which you’d like to create a roommate group.
Click Roommates to access the roommate group settings.
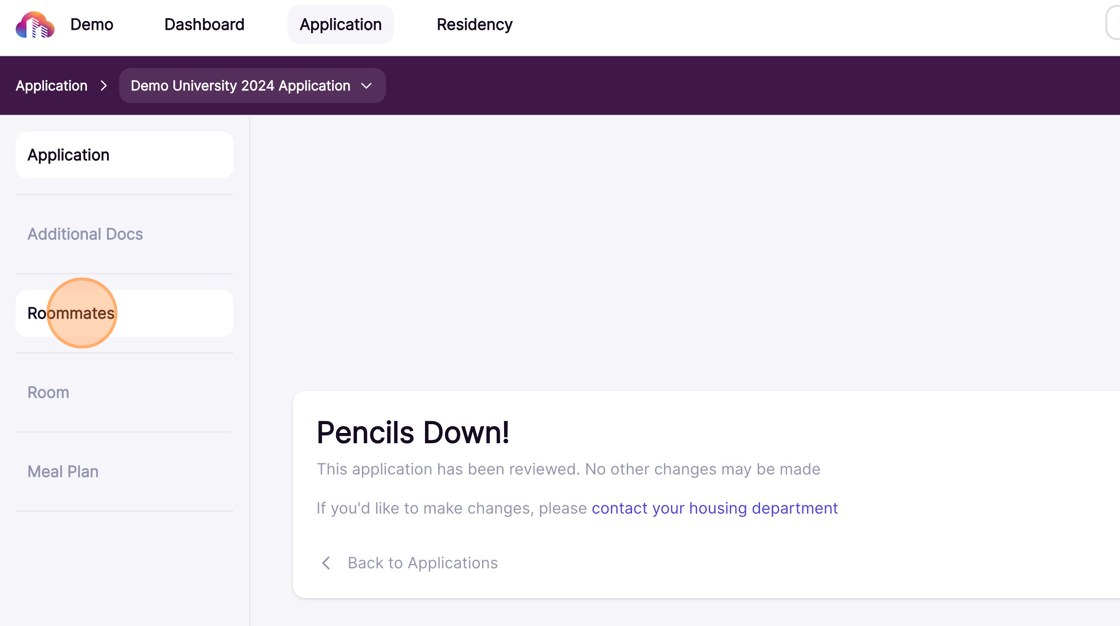
Note: Roommate selection is only available during the roommate selection period defined by your school.
Create a Roommate Group
Click Create Roommate Group to form the group.
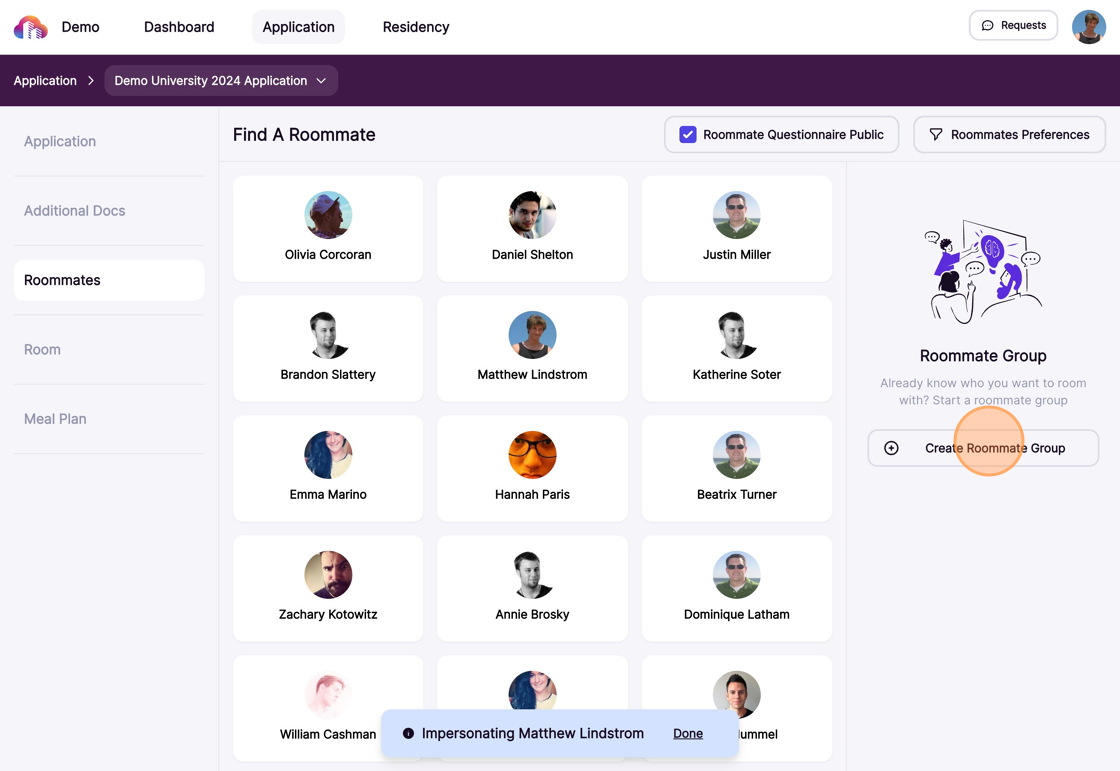
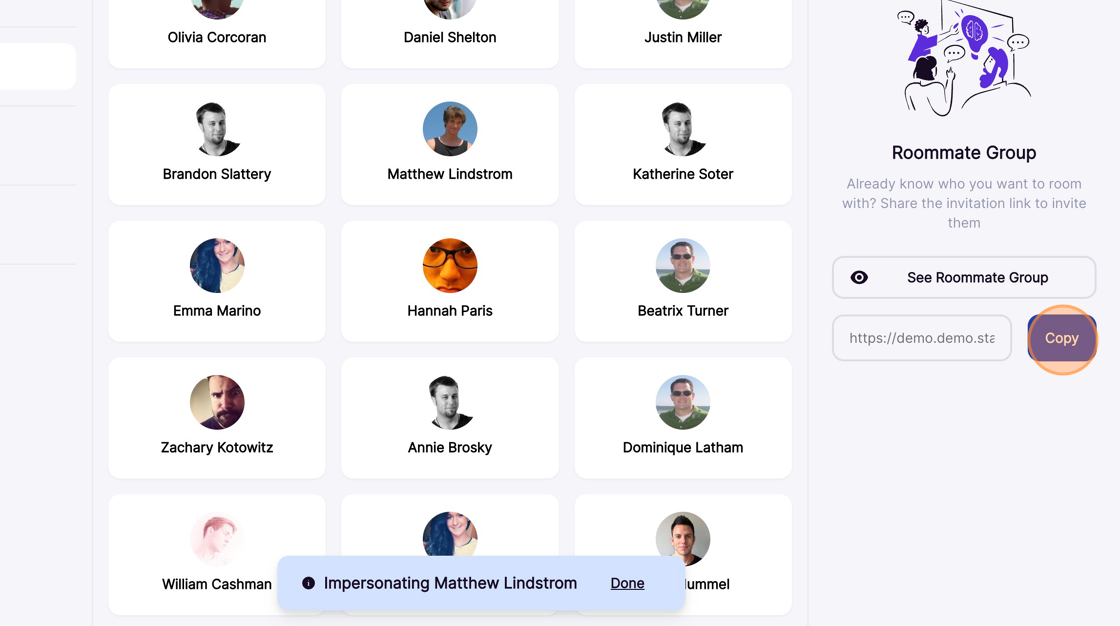
Click Copy to generate and copy a unique invitation URL to send to your roommate group via email.
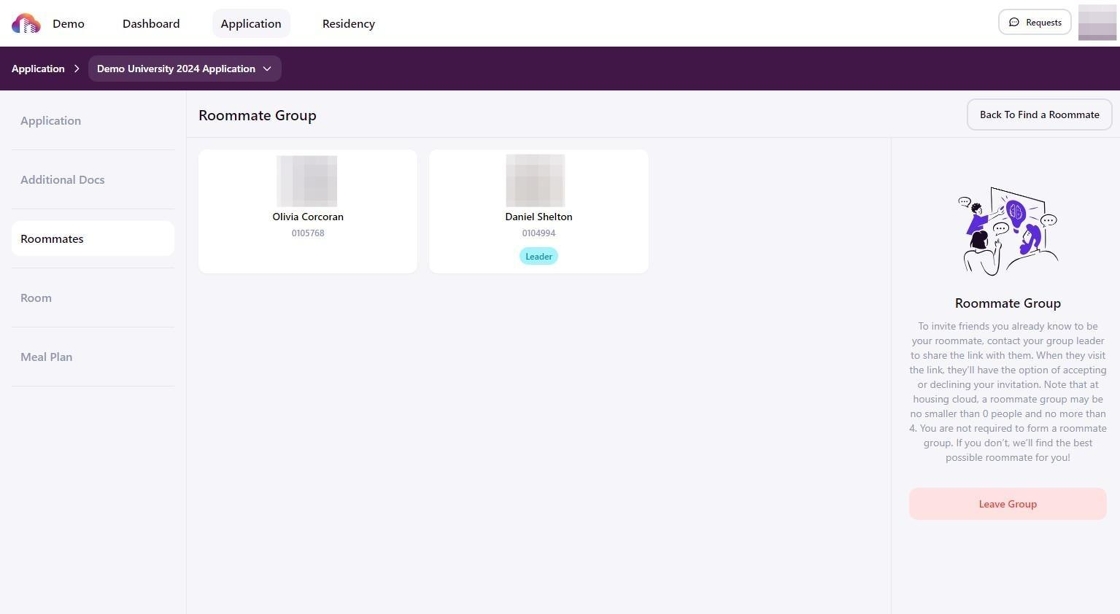
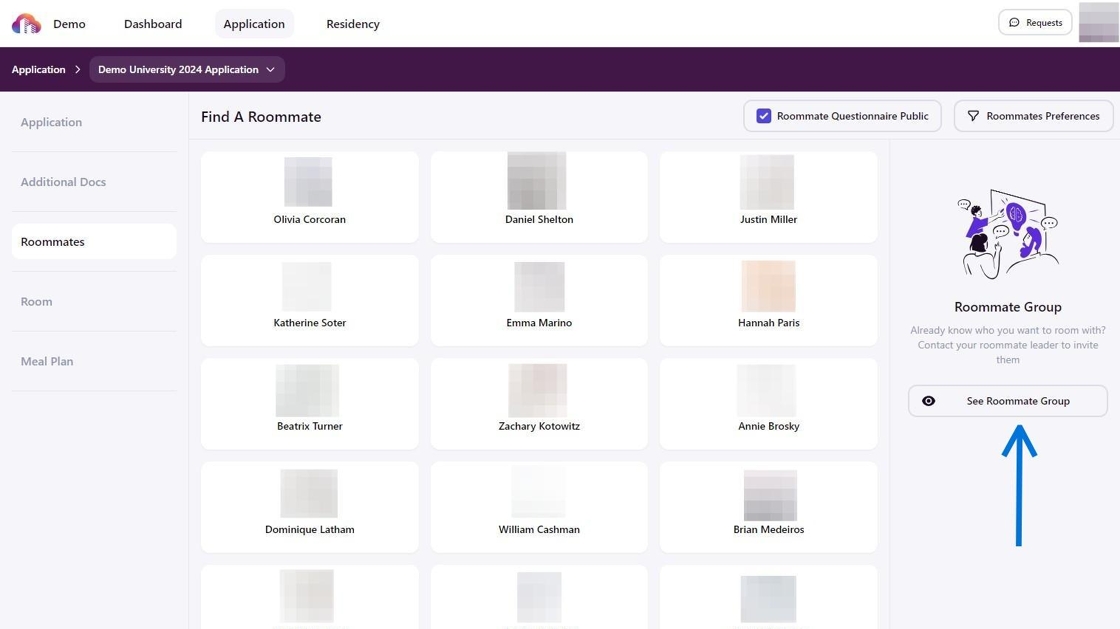
Manage Your Roommate Group
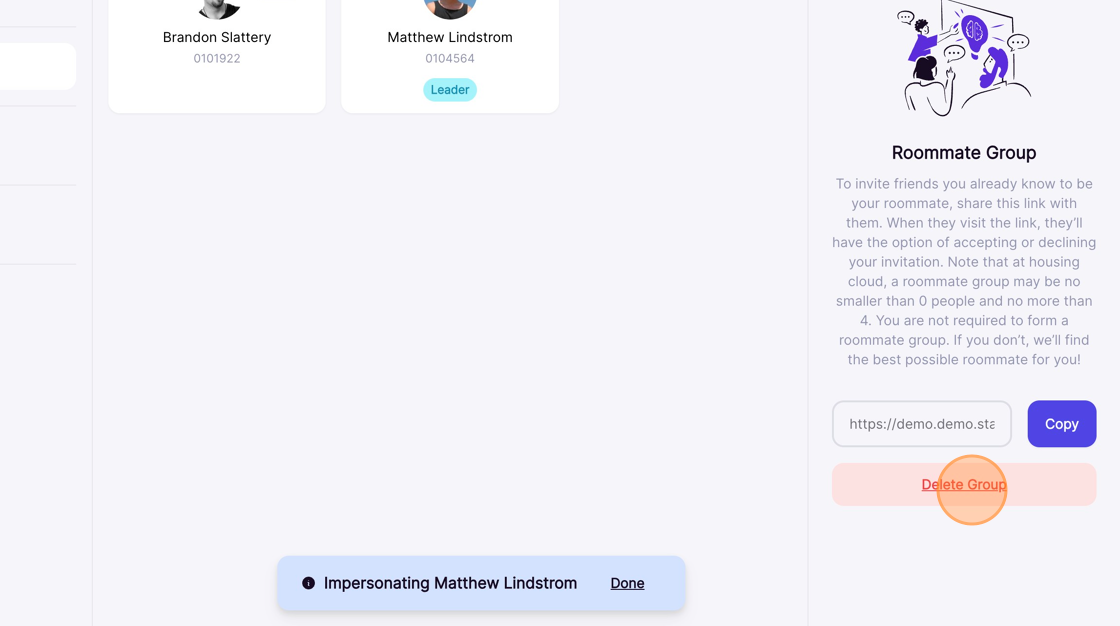
As roommates accept the invitation, they will appear on the Roommate Group Overview page. The group leader has access to specific management options, including assigning a new group leader or removing a member from the group.
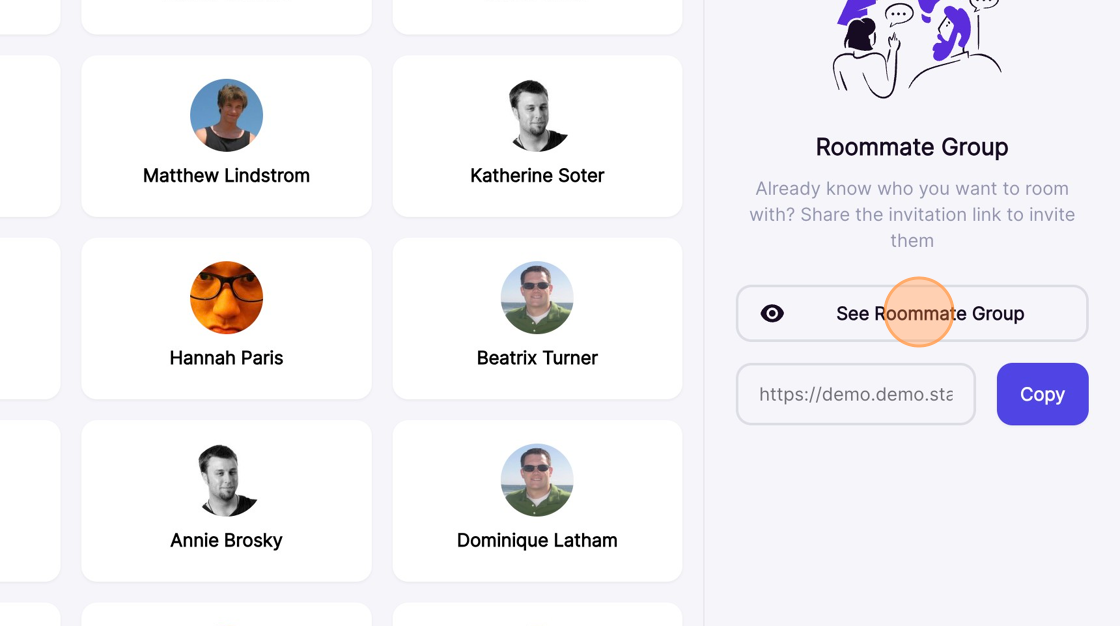
Click See Roommate Group to manage group members.
Click the three-dot button next to a group member to either make them the group leader or remove them from the group.

Click Delete Group to dissolve your group. Deleting the group will return all members to individual status.
How to Join or Leave a Roommate Group, for Students
Have you received an invitation from another student, asking you to join their roommate group? This guide explains how to accept or decline the invitation and, if desired, how to leave an established roommate group later if you change your mind. Your student biography does not need to be made public to join or form a roommate group.
1. Log in to your Resident Portal using the URL provided by your school.
2. The roommate group invitation you received includes a unique URL sent by your group leader. Copy and paste the link into your web browser.
3. The invite page will display your group leader's name with options to either Accept Invite or Decline.
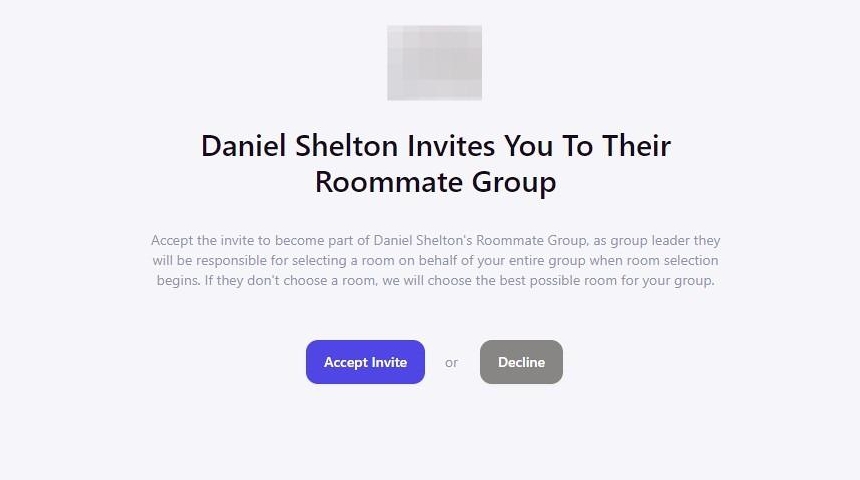
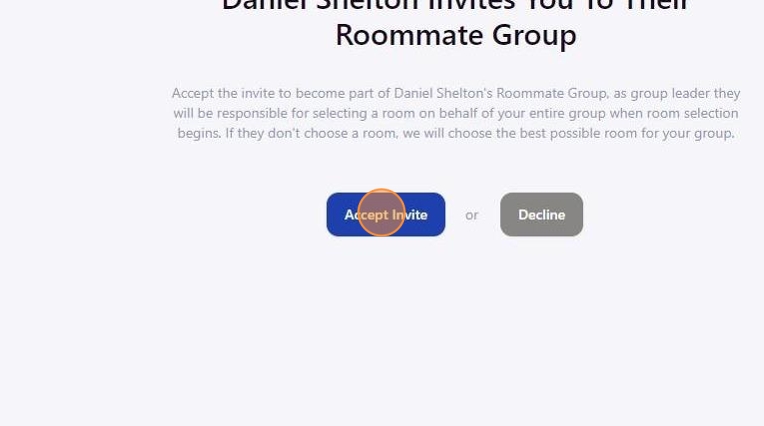
4. Click Accept Invite to join the roommate group.
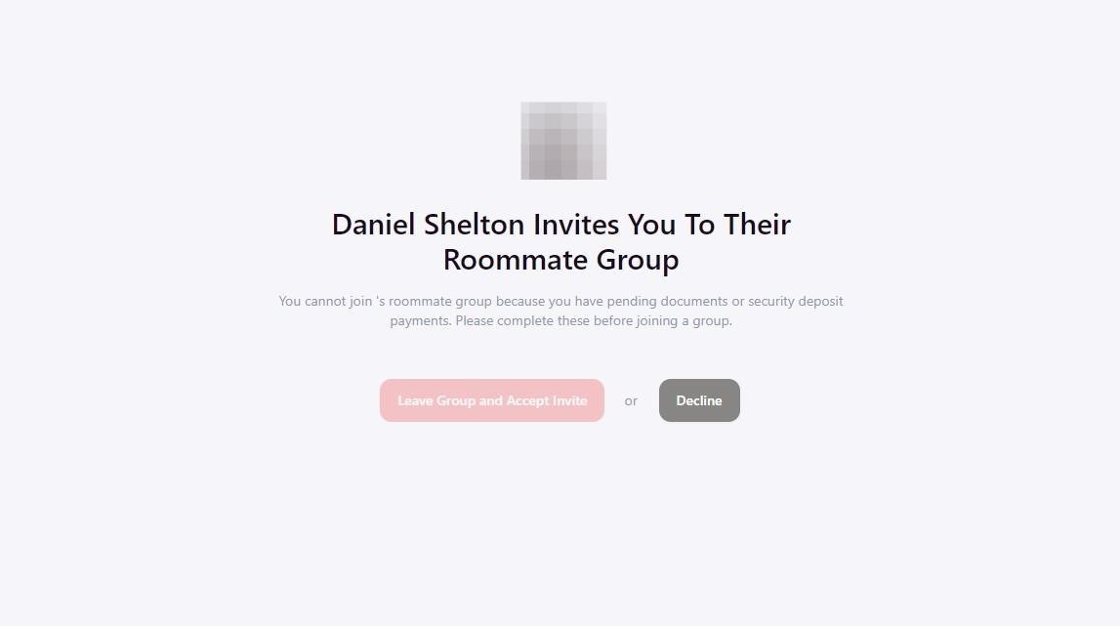
Note: You cannot accept the invite if you have outstanding documents or payments. Access your Application to fulfill any requirements, if necessary, in order to continue.
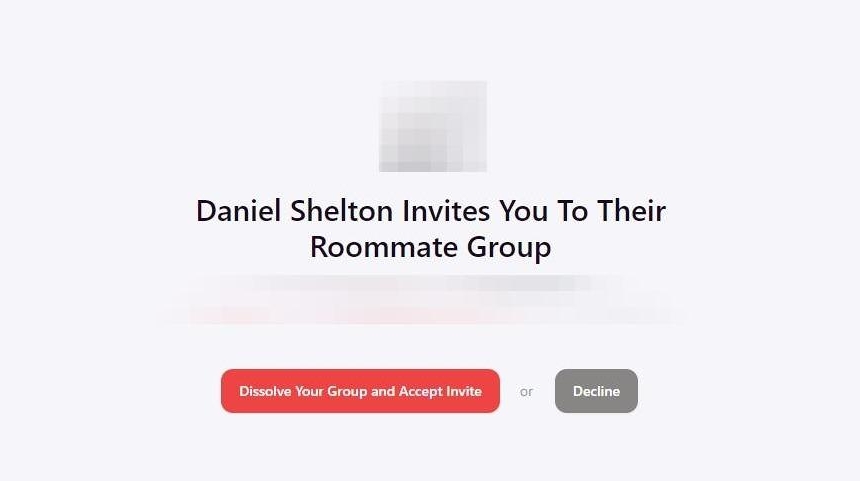
Note: You can only be part of one roommate group at a time. If you already accepted another invitation, you'll be prompted to leave that group in order to join this new group. Or, if you are already an established group leader of another group, you will be prompted to Dissolve Your Group and Accept Invite. Dissolving your group will delete the group and all members will be returned to a single applicant status.
5. You will automatically return to your housing application to view your newly joined group after accepting the invite.
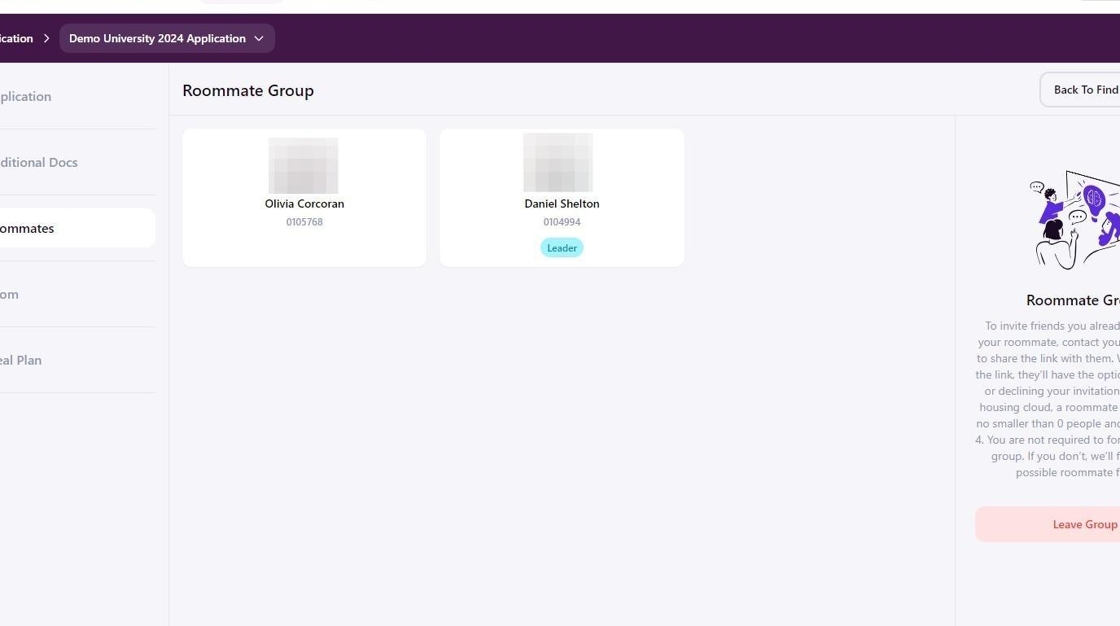
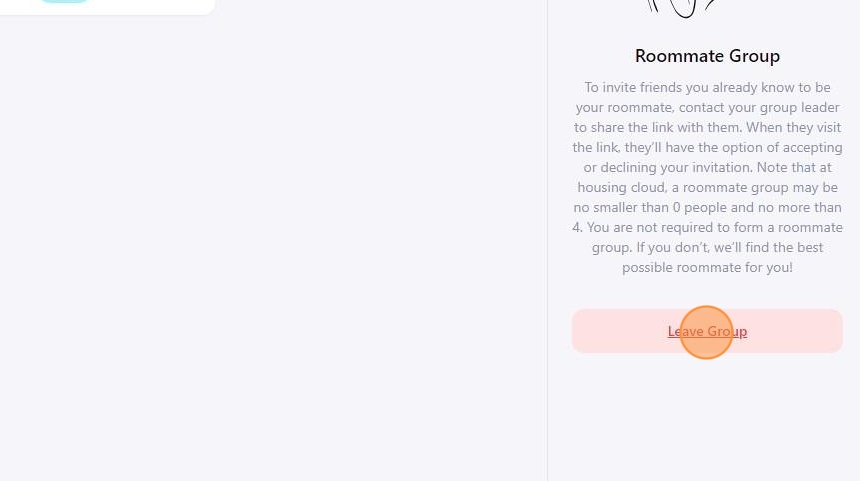
6. If your housing plans change in the future, return to this page and click Leave Group to remove yourself.
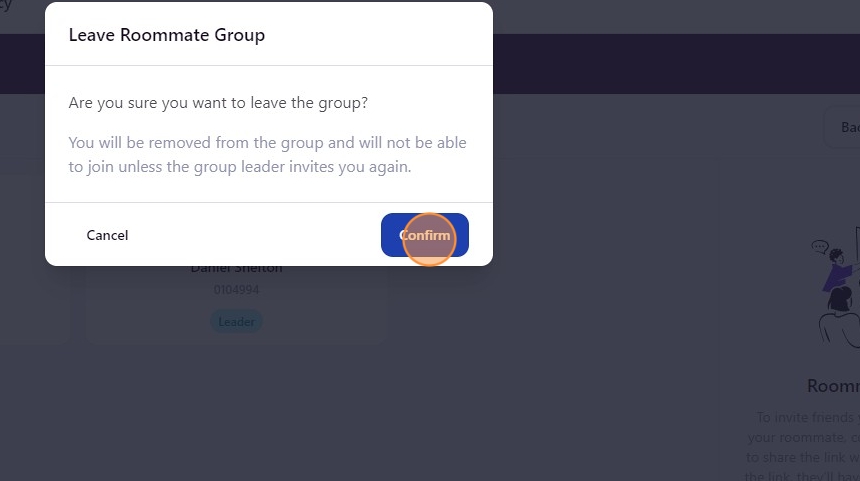
7. Click Confirm to finalize your removal. Your applicant status will return to single and you can create or join new roommate group.
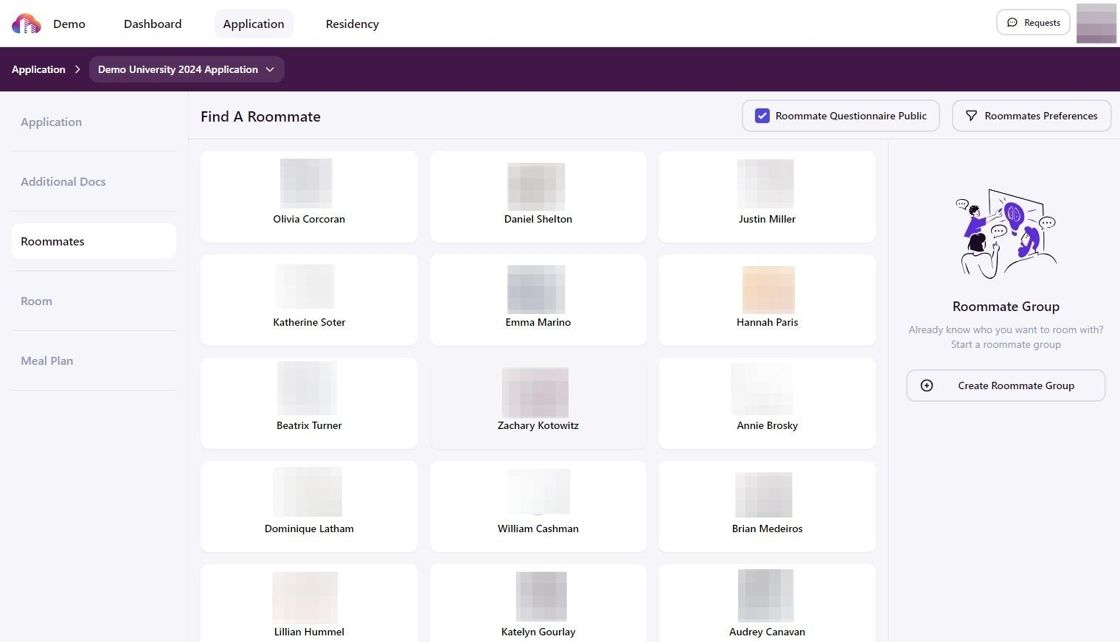
8. Your roommate group status will always be visible from the Roommates section of your active housing application.
Not in a Roommate Group
In a Roommate Group
After clicking See Roommate Group