Important notes to remember:
-
An authorized payer may not accept charges for a student. Only the student can do this, and the recommended way is online through his/her myRedDragon account.
-
An authorized payer will be prompted to enter a payment amount. Paying the minimum amount due or an amount less than the full balance will result in the student being enrolled in the monthly payment program and a $45 application fee being added to the student’s account.
-
Authorized payers are granted limited online online access to a student’s financial information. Being granted such access is not the same as being granted permission to discuss the details of an account via a FERPA privacy release.
-
View pdf printable statement version of the billing statement for due dates, billing messages, and other payment information
-
Plan to review the Quik Pay account not less than monthly as billed charges and financial aid amounts could change from the initial semester bill and/or as the result of add/drop activity
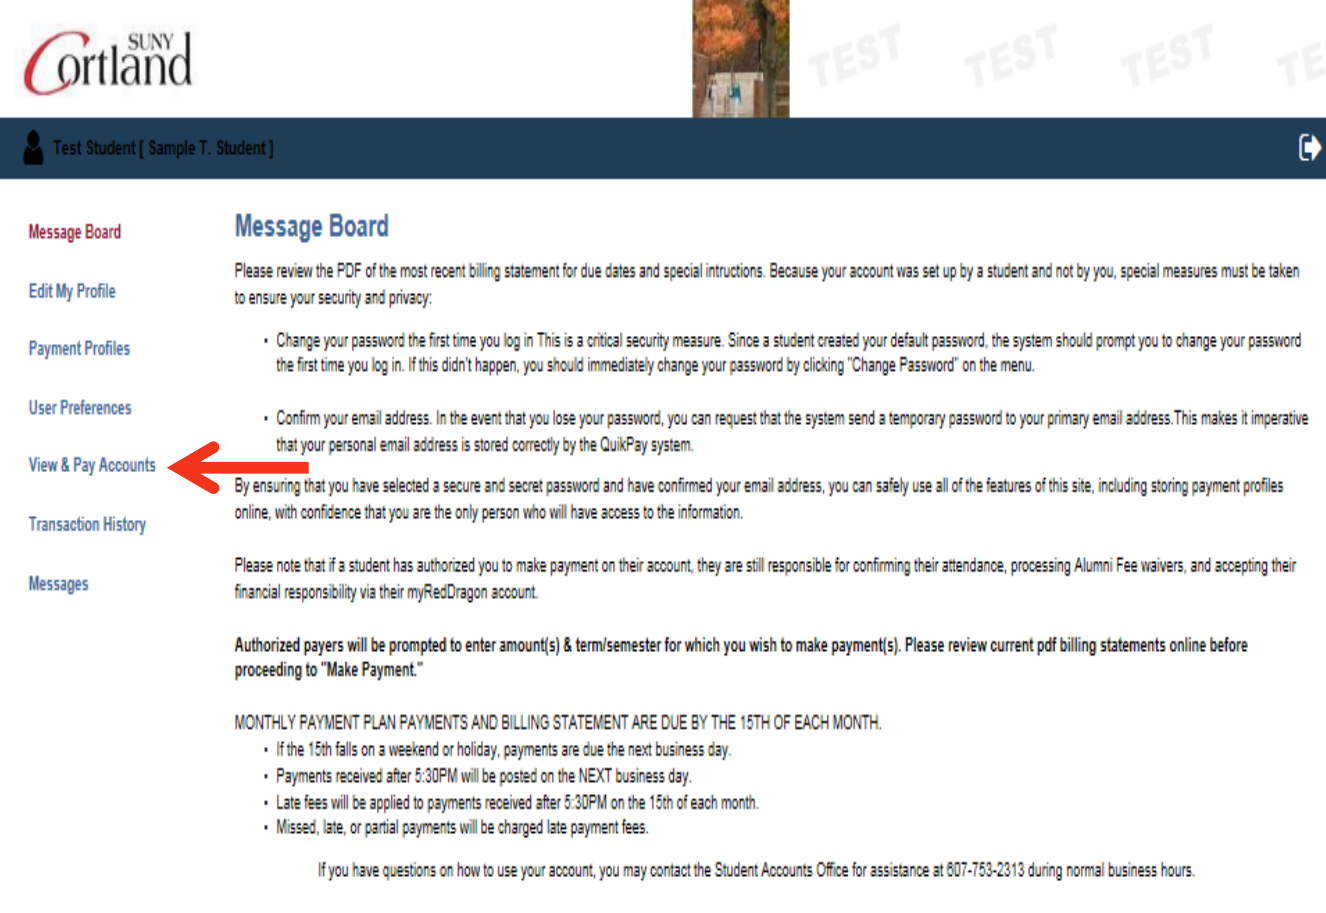
1. Select “View & Pay Accounts"
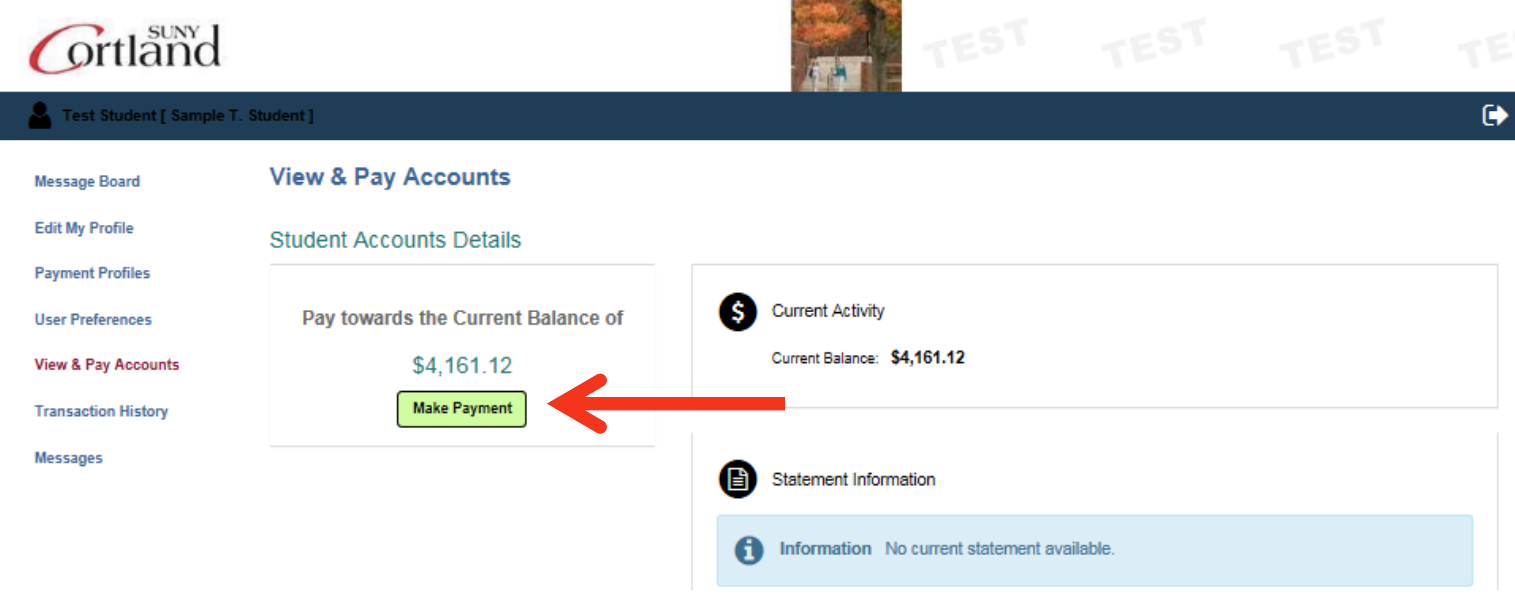
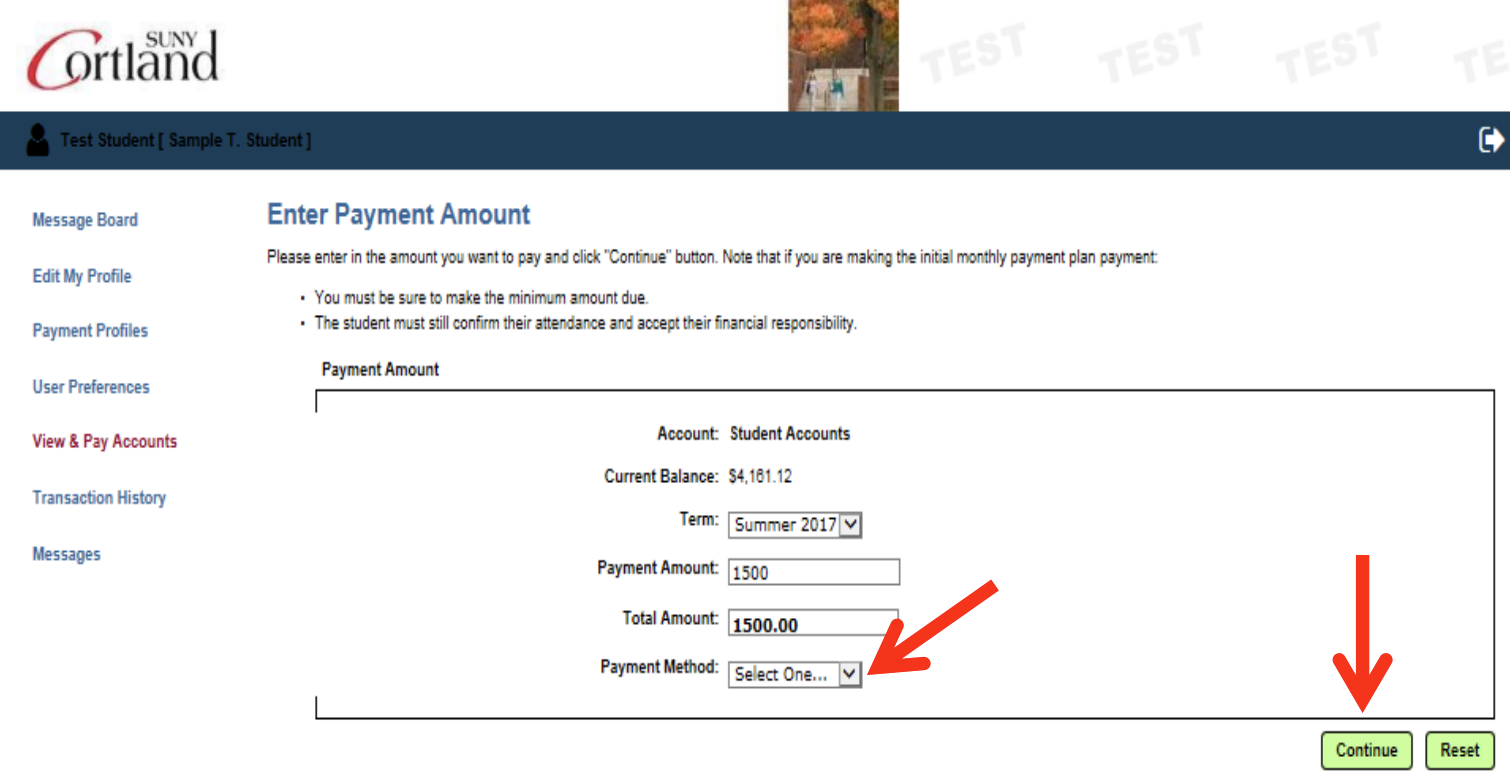
2. You will need to select the "Make a Payment" button, choose the term/semester, enter the amount you are paying, and chose a payment method.
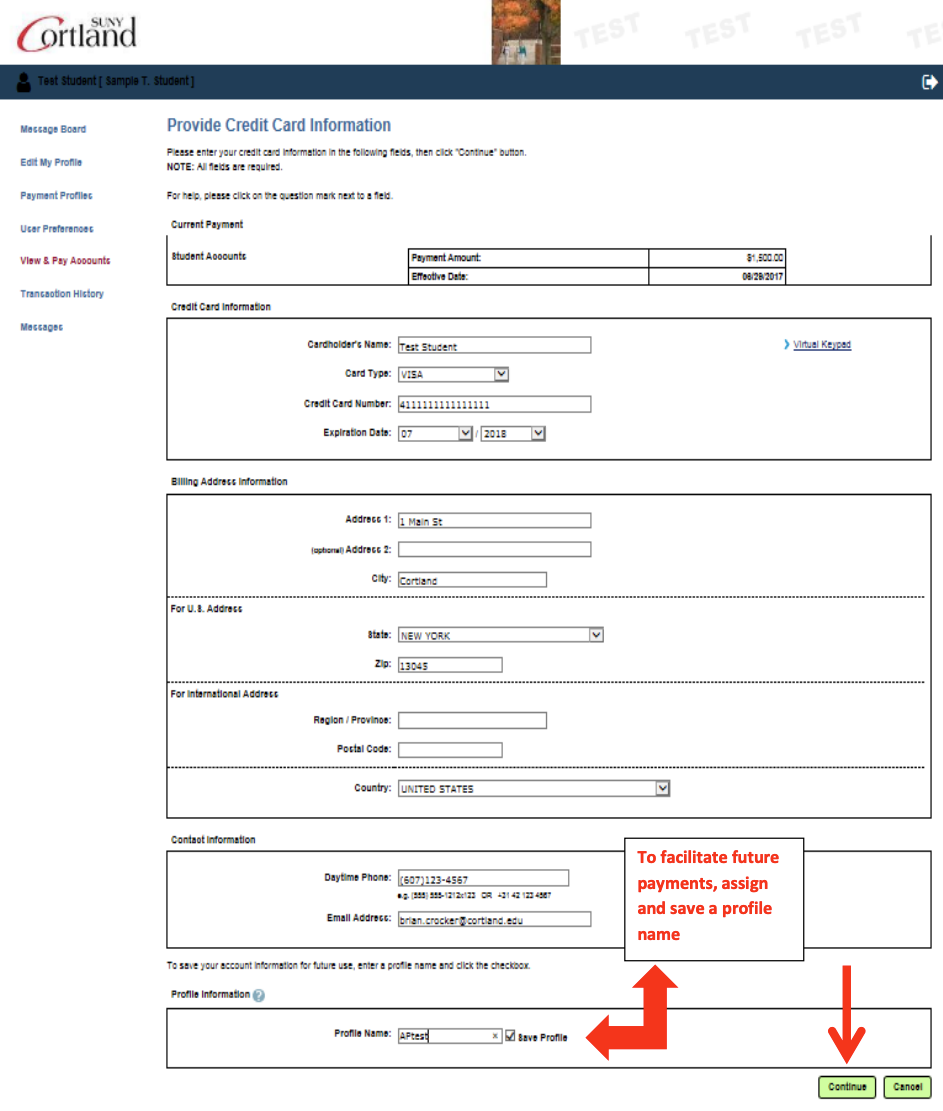
3. Provide required data and select “Continue.” To facilitate future payments, assign and save a profile name. This will allow you to pay the bill without re-entering all the required fields again.
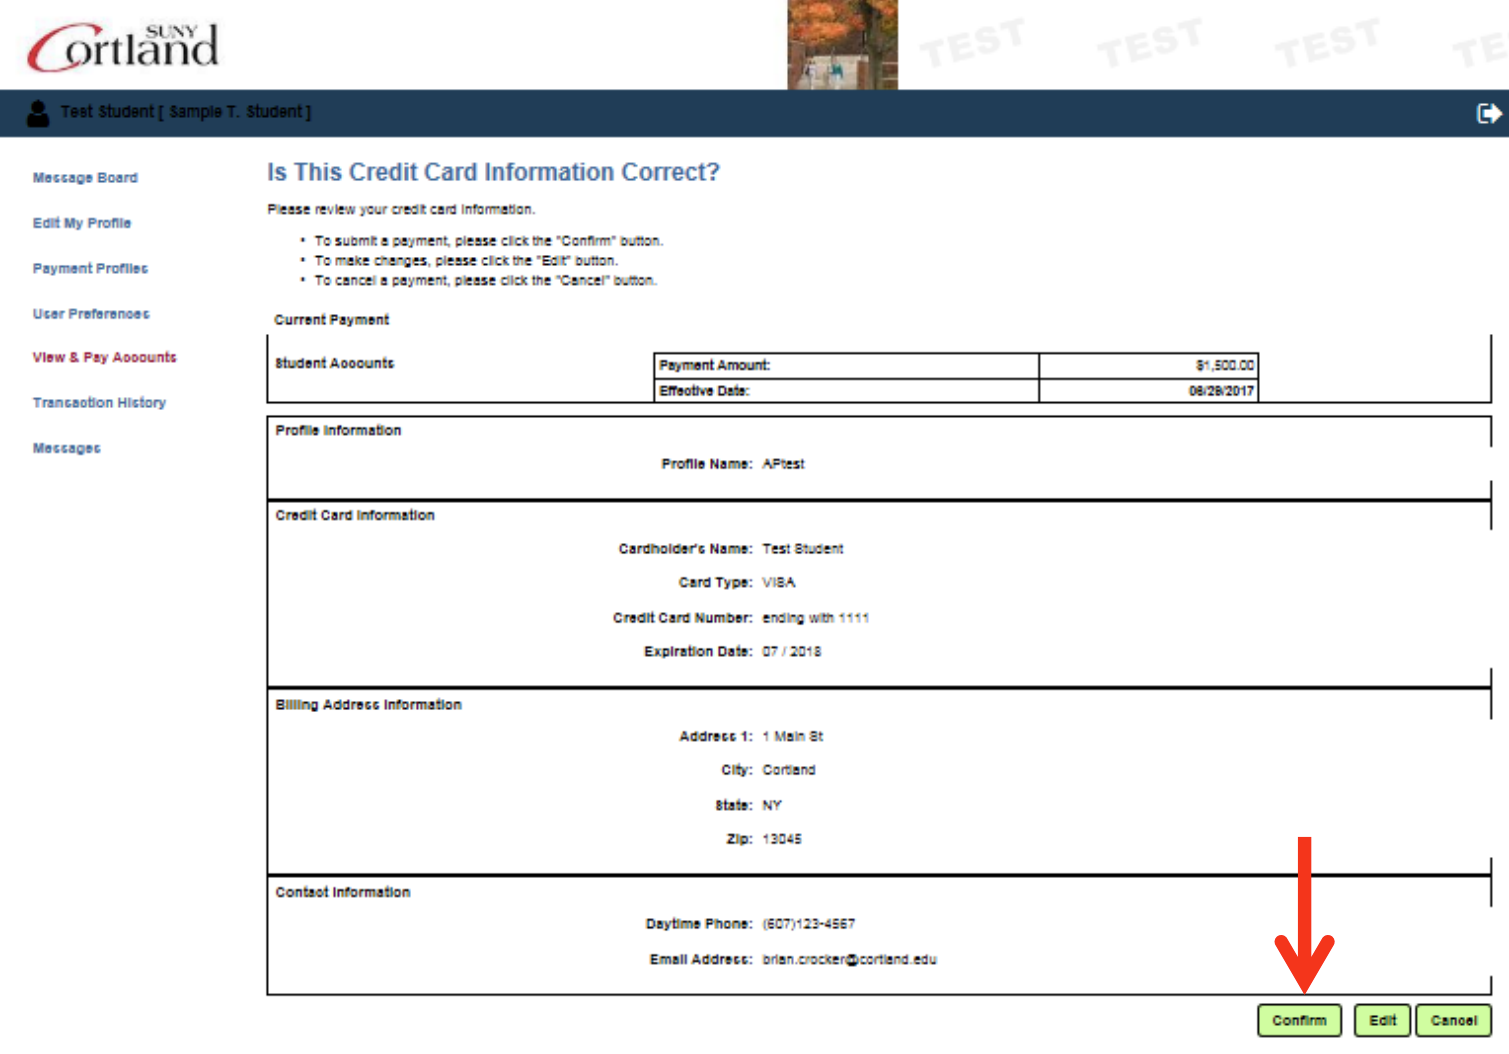
4. Review the information you provided and if it is accurate, click “Confirm.”
5. You will receive confirmation of your payment and you will also receive an email confirming your payment. We suggest you print a copy for your records.
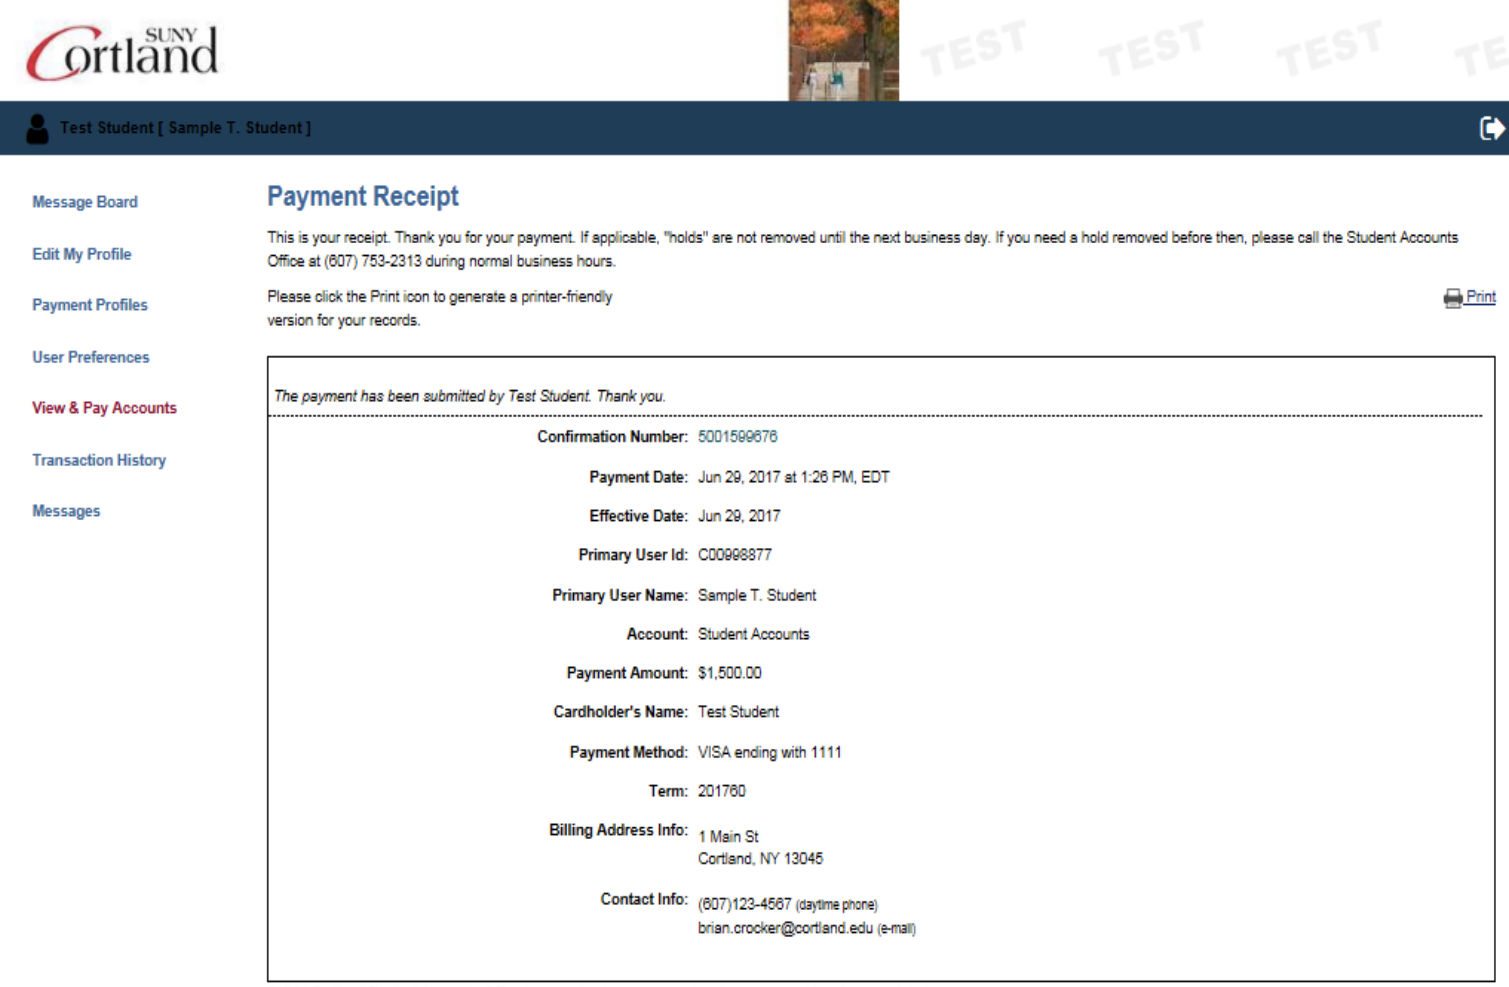 6. A confirmation email will be sent to the Authorized Payers email address with the following:
Test student,
A credit card payment in the amount of $100.00 was approved on 06/29/2024 at 1:26 PM.
The confirmation number is 5001599676.
Regards,
QuikPay Online Services